Install CyberPanel in the VPS method given here :
Table of Contents
1. Log into your VPS from an SSH client (Putty).

2. Copy and paste this command into the terminal and run it.
Command: sh <(curl https://cyberpanel.net/install.sh || wget -O - https://cyberpanel.net/install.sh)
CyberPanel installation will start.

3. Here enter 1.

4. Here select Open LiteSpeed, so enter 1 again.

5. Enter y.

6. If you want a remote mysql database enter y otherwise keep it blank and enter.

7. Again enter for latest version.

8. Now set your password. r for a random pass, d for a default pass, and s for setting a password yourself. I will keep it default and change my pass later. They will show the default password in the terminal when you enter.

9. Here enter y.

10. Again enter y.

11. Here keep it blank and enter. The installation process will start. It will take some time so wait till the cyberpanel is installed.

12. When the installation is complete enter y to restart your server.

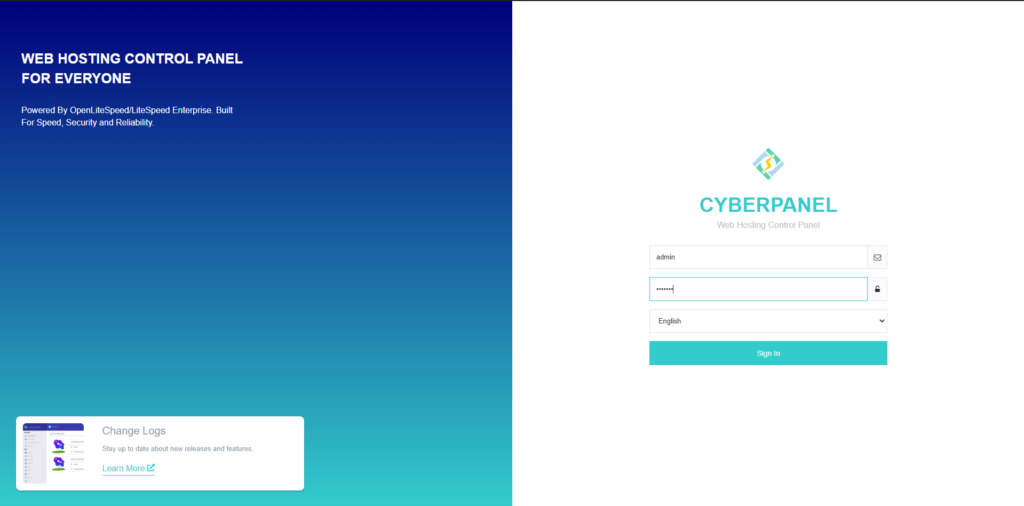
CyberPanel is installed now. To log into your CyberPanel, enter your VPS IP with port 8090 to any browser. Add: before the port number. It will take you to your cyberpanel login page.

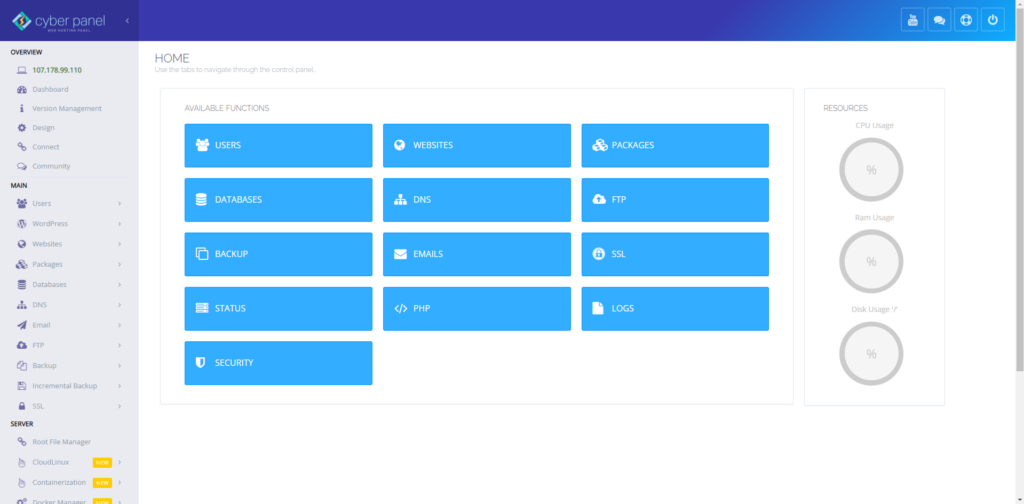
Use admin as username enter the default password you got while installing CyberPanel and click sign in. You will be logged into your CyberPanel dashboard.

That’s all. If you face any issues in the process knock our technical support in the live chat. They will assist you.
cPanel
CyberPanel
CyberPanel Guide
CyberPanel Installation
hosting
Linux VPS
Server management
VPS
VPS Setup
VPS Tutorial
Web hosting control panel
Website Hosting


