


1. Log in to WHM Account.
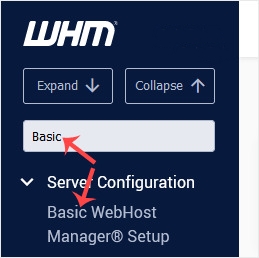
2. Go to Server Configuration >> Basic WebHost Manager® Setup or type Basic in the menu filter box. The option will appear. Click on it.
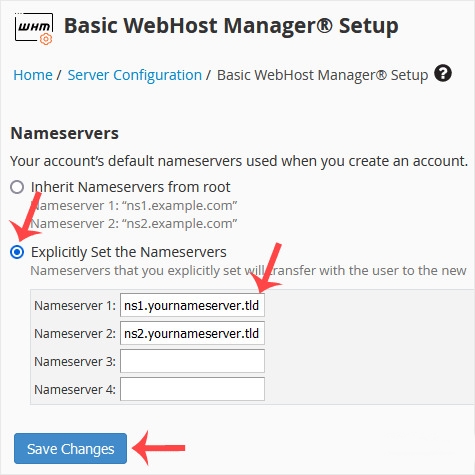
3. Under Nameservers, select Explicitly Set the Nameservers. Enter or change the nameservers. Then click on Save Changes.
Setting them in WHM isn’t enough, the nameservers must also be registered (with glue records/IP addresses) where the domain lives. Link to your client-area post here: “If your domain is with GotMyHost, follow this guide.” — this is the cross-link we planned anyway.
Note: Domain propagation takes up to 24 hours.
“How to verify it worked”:
dig NS yourdomain.comor an online tool like intodns.com; mention propagation up to 24h (the note you already have).