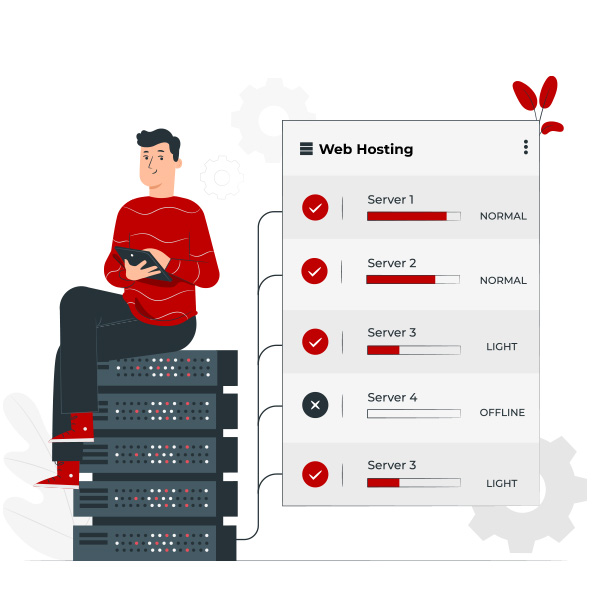
When it comes to speeding up your website, LiteSpeed is one of the most powerful and efficient web servers available. It’s optimized for handling high-traffic volumes, making it a popular choice among webmasters, especially those running WordPress, Joomla, and other CMS platforms. LiteSpeed is known for its superior performance, especially when paired with caching, security features, and optimized server settings.

If you’re looking to squeeze every ounce of performance out of your LiteSpeed server, this guide will walk you through the key settings and configurations you can adjust to optimize your site.
Table of Contents
1. Enable LiteSpeed Cache
One of the most significant performance gains comes from enabling LiteSpeed’s built-in caching mechanisms. This can drastically reduce the load on your server and speed up content delivery to users.
Steps:
- Install LiteSpeed Cache Plugin: If you’re using a CMS like WordPress, install the official LiteSpeed Cache plugin. This plugin simplifies caching and integrates directly with your web server.
- Enable Page Caching: In the LiteSpeed Cache settings, enable “Page Cache“. This allows dynamic pages to be cached as static files, reducing server processing time for every request.
- Configure Cache TTL (Time-to-Live): Set the appropriate TTL for cached content. Typically, 1-2 hours works well for most websites, but adjust it according to your content’s update frequency.
Why It Works:
When caching is enabled, LiteSpeed serves pre-rendered pages from memory or disk instead of generating them from scratch on each request. This dramatically improves page load time, especially for high-traffic sites.
2. Fine-Tune LiteSpeed’s Keep-Alive Settings
Keep-Alive allows the server to keep a connection open between requests, instead of closing it after each one. This can significantly reduce latency and improve performance for websites with many small resources, like images, scripts, and CSS files.
Steps:
- Open LiteSpeed Admin Panel.
- Navigate to Configuration > Server > Connection.
- Set the Keep-Alive Timeout to a reasonable value (e.g., 5–10 seconds). Setting this too high can increase server load, but a short timeout could lead to frequent connection re-establishments, which reduces performance.
Why It Works:
With Keep-Alive enabled, your server avoids the overhead of opening new TCP connections for each resource request, improving the efficiency of page load times.
3. Enable HTTP/2 or QUIC
HTTP/2 and QUIC (HTTP/3) are protocols designed to reduce latency and improve loading times, especially for modern websites that rely on many assets like images, JavaScript, and CSS.
Steps:
- HTTP/2: LiteSpeed supports HTTP/2 by default, but make sure it’s enabled by going to Configuration > Server > General and checking the box for Enable HTTP/2.
- QUIC/HTTP/3: For sites that want to take performance even further, enabling QUIC (HTTP/3) can provide better latency and faster loading, especially for mobile users. Enable it via Configuration > Server > Network.
Why It Works:
Both HTTP/2 and QUIC reduce the time needed to load multiple assets by allowing multiplexing (sending multiple requests in parallel) and minimizing latency.
4. Optimize LiteSpeed’s PHP Settings
PHP performance plays a crucial role in website speed, especially for dynamic sites. Optimizing PHP settings ensures that your server can process requests as quickly as possible.
Steps:
- Navigate to Configuration > PHP.
- Enable Opcode Caching (with LSCache or OPcache).
- Set an appropriate Max Execution Time. A lower value, such as 30 seconds, is usually sufficient, but it depends on your site’s complexity.
- Use PHP-FPM for faster PHP processing (instead of mod_php or CGI). This is particularly beneficial if your server handles a lot of PHP-intensive scripts.
Why It Works:
PHP optimization reduces the processing time for dynamic content generation. Opcode caching stores precompiled PHP scripts in memory, reducing the need to compile them on each request.
5. Minify and Compress Your Content
Reducing the size of assets such as HTML, CSS, JavaScript, and images will result in faster download times for visitors. LiteSpeed has built-in features to handle this efficiently.
Steps:
- Enable Minification for HTML, CSS, and JavaScript through LiteSpeed Cache settings. This will remove unnecessary spaces, comments, and characters from your files.
- Enable Gzip Compression or Brotli Compression. You can do this in Configuration > Server > Compression. Brotli is the modern alternative to Gzip and provides better compression rates.
- Make sure Lazy Load for images is enabled. This means images will only load when they come into the user’s viewport (visible part of the page).
Why It Works:
Minification and compression reduce the size of the resources, which results in quicker load times. Lazy loading further reduces initial page load time, especially for image-heavy sites.
6. Enable CDN for Faster Global Delivery
LiteSpeed supports integration with Content Delivery Network (CDN) to optimize the delivery of your content across different geographical locations. A CDN helps reduce latency and improves load times for visitors worldwide.
Steps:
- Sign up for a CDN provider and configure your account.
- Integrate it into LiteSpeed by enabling CDN support under the LiteSpeed Cache settings.
- Configure the settings for automatic cache purging, cache delivery, and optimized content distribution.
Why It Works:
Using a CDN reduces the geographical distance between your visitors and your content, improving load times by serving static assets from servers closer to the user.
7. Secure Your Site with HTTP Strict Transport Security (HSTS)
Security isn’t just about protecting your site from attacks; it can also enhance performance. HSTS forces browsers to load your site over HTTPS, which can increase security and make use of performance-enhancing technologies like HTTP/2.
Steps:
- Enable HSTS in LiteSpeed’s Configuration > Server > General.
- Ensure that your SSL certificate is properly installed, and your site is served over HTTPS.
Why It Works:
HSTS ensures that users always connect securely to your site, and it encourages the use of HTTP/2 for faster connection times. Additionally, some performance gains come from the security headers, which tell browsers to cache SSL/TLS information.
8. Monitor Server Performance
Performance isn’t a one-time setup; it requires continuous monitoring to ensure that your site continues to perform optimally as traffic and content evolve.
Steps:
- Use LiteSpeed’s Real-Time Statistics panel to monitor server load, resource usage, and request statistics.
- Regularly check LiteSpeed Cache logs to ensure cache hits are maximized and no resources are being unnecessarily regenerated.
Why It Works:
Constant monitoring allows you to identify performance bottlenecks early and adjust configurations or resources before they negatively impact the user experience.
Conclusion
By following these tips and configuring LiteSpeed for maximum website performance, you’ll be well on your way to having a lightning-fast website that can handle traffic spikes and provide a seamless user experience.
If you’re looking for an optimal hosting provider to run your LiteSpeed server, GotMyHost offers excellent LiteSpeed-optimized hosting solutions, allowing you to implement these performance enhancements with ease and reliability.
And don’t forget the importance of securing your website! If you haven’t already, check out our related blog on SSL Certificates: Why Every Website Needs One to ensure your site is not only fast but also secure.


